PeerTube
Обновлено 25 февраля 2022

PeerTube - это децентрализованная платформа для организации видеохостинга и видеовещания. PeerTube представляет собой независимую легковесную масштабируемую альтернативу для YouTube, Dailymotion и Vimeo и использует браузеры посетителей для создания сети распространения контента на базе P2P-коммуникаций. Платформа поддерживает протокол ActivityPub, позволяющий объединить разрозненные серверы с видео в общую федеративную сеть, в которой посетители имеют возможность подписки на каналы и получения уведомлений о новых видео. Исходный код проекта распространяется под свободной лицензией AGPLv3.
Подготовка LXC контейнера
Мы рекомендуем выполнить установку PeerTub в отдельном контейнере, настроив его согласно инструкции.
Установка и настройка PostgreSQL
Установите и настройте PostgreSQL согласно руководству. Вместо базы данных dbtest из примера создайте базу peertube_prod, а вместо пользователя test создайте peertube и выполните дополнительные настройки базы:
psql -U postgres
psql (11.2)
Введите "help", чтобы получить справку.
postgres=# \c peertube_prod
postgres=# CREATE EXTENSION pg_trgm;
postgres=# CREATE EXTENSION unaccent;
postgres=# \q
Установка PeerTube
Установите вспомогательное программное обеспечение:
emerge -a app-arch/unzip dev-db/redis media-video/ffmpeg dev-python/nodeenv
Создайте пользователя peertube в системе и задайте ему пароль:
mkdir -p /var/calculate/www
useradd -m -d /var/calculate/www/peertube -s /bin/bash -p peertube peertube
passwd peertube
Установите Node.js в директорию пользователя:
su - peertube
nodeenv --node=14.17.6 .node-14
ln -sfT .node-14 .node-live
source .node-live/bin/activate
npm install -g yarn
echo 'source ~/.node-live/bin/activate' >> ~/.bash_profile
Создайте необходые пути, загрузите и распакуйте последнюю версию PeerTube:
mkdir config storage versions
VERSION=$(curl -s https://api.github.com/repos/chocobozzz/peertube/releases/latest | grep tag_name | cut -d '"' -f 4) && echo "Latest PeerTube version is $VERSION"
wget "https://github.com/Chocobozzz/PeerTube/releases/download/${VERSION}/peertube-${VERSION}.zip" -P versions
unzip versions/peertube-${VERSION}.zip -d versions
rm versions/peertube-${VERSION}.zip
Установите PeerTube:
ln -s versions/peertube-${VERSION} ./peertube-latest
cd ./peertube-latest
yarn install --production --pure-lockfile
cp /var/calculate/www/peertube/peertube-latest/config/default.yaml /var/calculate/www/peertube/config/default.yaml
cp config/production.yaml.example ../../config/production.yaml
Настройка PeerTube
Выполните настройки PeerTube, указав вместо peertube.example.org свой адрес сайта:
# Correspond to your reverse proxy server_name/listen configuration
webserver:
  https: true
  hostname: 'peertube.example.org'
  port: 443
# Your database name will be "peertube"+database.suffix
database:
  hostname: 'localhost'
  port: 5432
  suffix: '_prod'
  username: 'peertube'
  password: 'secret'
  pool:
    max: 5
# SMTP server to send emails
smtp:
  hostname: mail.example.org
  port: 465 # If you use StartTLS: 587
  username: null
  password: null
  tls: false # If you use StartTLS: false
  disable_starttls: false
  ca_file: null # Used for self signed certificates
  from_address: 'admin@mail.example.org'
# From the project root directory
storage:
  tmp: '/var/calculate/www/peertube/storage/tmp/' # Used to download data (imports etc), store uploaded files before processing...
  avatars: '/var/calculate/www/peertube/storage/avatars/'
  videos: '/var/calculate/www/peertube/storage/videos/'
  streaming_playlists: '/var/calculate/www/peertube/storage/streaming-playlists/'
  redundancy: '/var/calculate/www/peertube/storage/videos/'
  logs: '/var/calculate/www/peertube/storage/logs/'
  previews: '/var/calculate/www/peertube/storage/previews/'
  thumbnails: '/var/calculate/www/peertube/storage/thumbnails/'
  torrents: '/var/calculate/www/peertube/storage/torrents/'
  captions: '/var/calculate/www/peertube/storage/captions/'
  cache: '/var/calculate/www/peertube/storage/cache/'
  plugins: '/var/calculate/www/peertube/storage/plugins/'
  client_overrides: '/var/calculate/www/peertube/storage/client-overrides/'
admin:
  # Used to generate the root user at first startup
  # And to receive emails from the contact form
  email: 'support@example.org'
Получение сертификата Let's Encrypt
Получите сертификат домена peertube.example.org для Nginx согласно руководству.
Установка и настройка Nginx
Установите и настройте веб-сервер Nginx согласно руководству.
Скопируйте пример настройки Nginx для PeerTube:
cp /var/calculate/www/peertube/peertube-latest/support/nginx/peertube /etc/nginx/sites-enabled/peertube.conf
Укажите имя сервера peertube.example.org и пути:
server {
    listen 80;
    listen [::]:80;
    server_name peertube.example.org;

    location /.well-known/acme-challenge/ {
        default_type "text/plain";
        root /var/www/certbot;
    }
    location / { return 301 https://$host$request_uri; }
}

upstream backend {
    server localhost:9000;
}

server {
    listen 443 ssl http2;
    listen [::]:443 ssl http2;
    server_name peertube.example.org;

    ssl_certificate /etc/letsencrypt/live/peertube.example.org/fullchain.pem;
    ssl_certificate_key /etc/letsencrypt/live/peertube.example.org/privkey.pem;
    ...
    # Bypass PeerTube for performance reasons. Could be removed
    location ~ ^/client/(.*\.(js|css|woff2|otf|ttf|woff|eot))$ {
        add_header Cache-Control "public, max-age=31536000, immutable";
        alias /var/calculate/www/peertube/peertube-latest/client/dist/$1;
    }
    ...
    # Cache 2 hours
    add_header Cache-Control "public, max-age=7200";
    root /var/calculate/www/peertube/storage;
    rewrite ^/static/(thumbnails|avatars)/(.*)$ /$1/$2 break;
    try_files $uri
    ...
        # Don't spam access log file with byte range requests
        access_log off;
    }
    root /var/calculate/www/peertube/storage;
    rewrite ^/static/webseed/(.*)$ /videos/$1 break;
    rewrite ^/static/redundancy/(.*)$ /redundancy/$1 break;
}
Запуск PeerTube
Создайте сценарий OpenRC для управления демоном PeerTube:
#!/sbin/openrc-run
# Copyright 2019 Gentoo Authors
# Distributed under the terms of the GNU General Public License v2

name="PeerTube daemon"
description=""
pidfile=/run/peertube.pid
command_user=peertube
output_log=/var/log/peertube.log
error_log=/var/log/peertube.log
directory=/var/calculate/www/peertube/peertube-latest
start_stop_daemon_args="-e NODE_ENV=production -e NODE_CONFIG_DIR=/var/calculate/www/peertube/config -e PATH=/var/calculate/www/peertube/.node-live/lib/node_modules/.bin:/var/calculate/www/peertube/.node-live/bin:\"$PATH\""
command="/var/calculate/www/peertube/.node-live/bin/npm"
command_args="start"
command_background=true

depend() {
        need nginx postgresql redis
}

start_pre() {
    checkpath -f -o peertube -m 0600 /var/log/peertube.log
}
Установите права на запуск:
chmod 0755 /etc/init.d/peertube
Запустите демон PeerTube:
/etc/init.d/peertube start
Добавьте PeerTube в автозагрузку:
rc-update add peertube
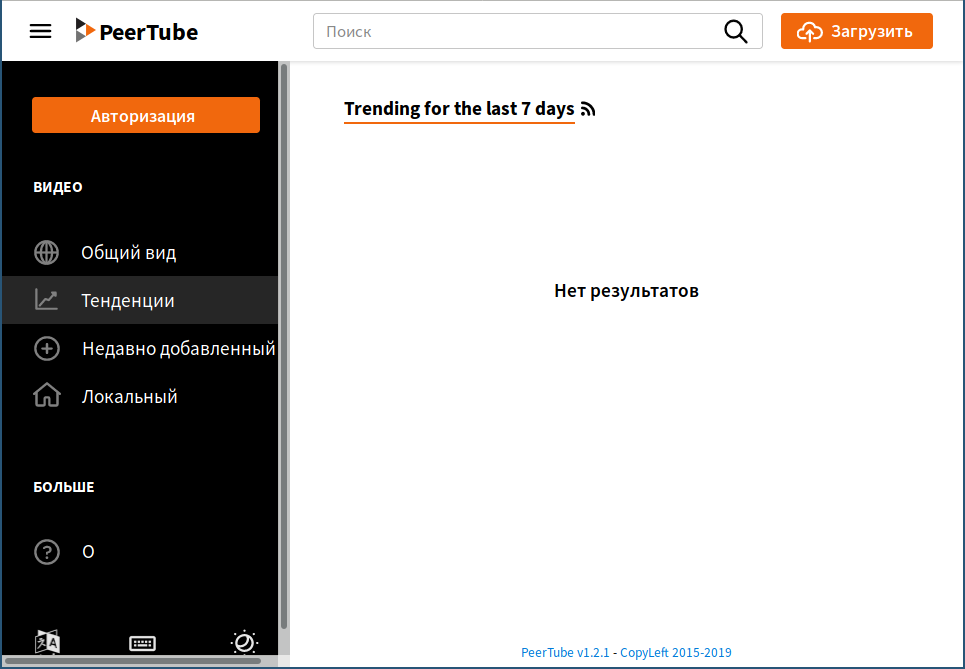
Откройте сайт peertube.example.org в браузере:

Установка пароля администратора PeerTube
Пароль администратора создаётся автоматически, и вы можете найти его в логах. Чтобы установить новый пароль, выполните:
su - peertube
cd /var/calculate/www/peertube/peertube-latest && NODE_CONFIG_DIR=/var/calculate/www/peertube/config NODE_ENV=production npm run reset-password -- -u root
exit
Обновление PeerTube
Обновление Node.js
При обновлении PeerTube до версии 4.1.0 убедитесь, что используемый Node.js версии не ниже 14:
su - peertube
node -v
v14.17.6
Если версия Node.js ниже 14, то установите версию 14.17.6 в новое окружение .node-14 и сделайте её текущей:
deactivate_node
nodeenv --node=14.17.6 .node-14
ln -sfT .node-14 .node-live
source .node-live/bin/activate
npm install -g yarn
Если вы настраивали PeerTube по предыдущей версии руководства, то исправьте в скриптах /var/calculate/www/peertube/.bash_profile и /etc/init.d/peertube .node-12 на .node-live.
Обновление исходного кода
Скачайте и распакуйте новую версию PeerTube:
su - peertube
VERSION=$(curl -s https://api.github.com/repos/chocobozzz/peertube/releases/latest | grep tag_name | cut -d '"' -f 4) && echo "Latest PeerTube version is $VERSION"
wget "https://github.com/Chocobozzz/PeerTube/releases/download/${VERSION}/peertube-${VERSION}.zip" -P versions
unzip versions/peertube-${VERSION}.zip -d versions
rm versions/peertube-${VERSION}.zip
Установите PeerTube:
cd versions/peertube-${VERSION}
yarn install --production --pure-lockfile
Обновление настроек
Скопируйте новый файл настроек по умолчанию:
cp config/default.yaml /var/calculate/www/peertube/config/default.yaml
Обновите ваш конфигурационный файл production.yml:
mv /var/calculate/www/peertube/config/production.yaml /var/calculate/www/peertube/config/production-old.yaml
cp config/production.yaml.example /var/calculate/www/peertube/config/production.yaml
Посмотрите отличия и перенесите ваши настройки в production.yaml:
git diff /var/calculate/www/peertube/config/production{,-old}.yaml
Выбор текущей версии
Измените символическую ссылку на последнюю версию:
cd
unlink peertube-latest
ln -s versions/peertube-${VERSION} ./peertube-latest
exit
Перезапустите PeerTube:
/etc/init.d/peertube restart
Переход на версию 2.1.0
Для обновления до версии 2.1.0 выполните сценарий создания HLS видео торрентов:
su - peertube
cd /var/calculate/www/peertube/peertube-latest
NODE_CONFIG_DIR=/var/calculate/www/peertube/config NODE_ENV=production node dist/scripts/migrations/peertube-2.1.js
exit
Переход на версию 2.2.0
Подключитесь к базе данных и выполните запрос:
psql -U postgres
psql (11.7)
Type "help" for help.

postgres=# \c peertube_prod
You are now connected to database "peertube_prod" as user "postgres".
peertube_prod=# select "preferredUsername" from actor where "serverId" is null group by "preferredUsername" having count(*) > 1;
 preferredUsername
-------------------
(0 rows)
Если результат запроса не будет пустым, то вам необходимо для каждой записи изменить preferredUsername так, чтобы он был уникальным.