Calculate Container Games
Updated 11 April 2021
Introduction
Calculate Container Games is a container for running Steam on a Calculate Scratch Server. You can use Steam Link running on Android/iOS, AppleTV, Raspberry Pi, Samsung Smart TV or Steam client to play Steam games in streaming mode. Calculate Container Games allows you to run Steam at an unsupported monitor resolution, or on a system with no monitor connected, to use the idle capacity of your home server.
Host configuration
Install the firmware for full video card support:
emerge -a sys-kernel/linux-firmware
Specify " host" as the system type to support running containers with a graphical environment:
/var/calculate/ini.env
[container]
type=host
Update the system settings and reboot the host computer:
cl-setup-system
reboot
Installing and configuring Calculate Container Games
Setting up an LXC container
Install Calculate Container Games and configure it as described in the manual. Set the distribution name to CCG and the container name to games~.
Video settings
Configure your video card with cl-setup-video. To list the supported drivers, please run:
Video driver:
  [default]      Auto *
  [radeon]       AMD Radeon (radeon)
  [amdgpu]       AMD AMDGPU (amdgpu)
  [modesetting]  Framebuffer device (modesetting)
  [intel]        Intel (intel)
  [nouveau]      Nvidia Nouveau (nouveau)
For instance, to select AMDGPU and 1920x1080, run:
cl-setup-video --video amdgpu -X 1920x1080
Add user
Add user guest~ in the container, configure their profile and auto login settings:
lxc-attach games
useradd --groups audio,input,video guest
cl-desktop guest
cl-setup-session -A guest
You will need either physical or remote access to the server with a monitor for the initial setup of Steam. To enable remote VNC access, set a password for user guest:
su guest -c "x11vnc -storepasswd"
Enter VNC password:
Verify password:
Write password to /home/guest/.vnc/passwd?  [y]/n y
Password written to: /home/guest/.vnc/passwd
The VNC server will now start at the same time as the Xorg server.
Restart the container:
exit
lxc-stop -r games
Configuring proprietary Nvidia
Installation and configuration
Unlike open source drivers, the Nvidia legacy must be installed both on the host and in the container, and it must be the same version. You also need to link the directory containing the kernel source code on the host computer to build the driver inside the container, and give access to modify the 195 char devices for the driver to work properly.
Install and configure the Nvidia driver package on the host system:
emerge -a x11-drivers/nvidia-drivers
cl-setup-video --video nvidia
Reboot the host and make sure that the Nvidia module is loaded:
nvidia_drm             53248  5
nvidia_modeset       1175552  9 nvidia_drm
nvidia              33525760  374 nvidia_modeset
drm_kms_helper        200704  1 nvidia_drm
drm                   462848  8 drm_kms_helper,nvidia_drm
i2c_core               49152  4 drm_kms_helper,nvidia,i2c_piix4,drm
Add access to the video card and enable the kernel source code in the container by uncommenting two lines in the container config file:
/var/calculate/lxc/games/config
# Nvidia driver support
lxc.cgroup.devices.allow = c 195:* rwm
lxc.mount.entry = /usr/src usr/src none bind,create=dir
Stop the container and start again:
lxc-stop games
lxc-start games
Install and configure the Nvidia driver in the container with resolution 1920x1080:
lxc-attach games
cl-update --sync-only
emerge -a x11-drivers/nvidia-drivers
cl-setup-video --video nvidia -X 1920x1080
exit
Update
To update the Nvidia drivers or the kernel, first update the kernel on the host, then the video driver:
cl-update --sync-only
emerge -a sys-kernel/calculate-sources x11-drivers/nvidia-drivers
Restart the container. Make a stop to enable the kernel sources:
lxc-stop games
lxc-start games
Update the Nvidia driver in the container:
lxc-attach games
cl-update --sync-only
emerge -a x11-drivers/nvidia-drivers
exit
Setting a custom resolution
If your monitor does not support the resolution you want to use, you can specify it in the Xorg configuration file. Resolution in the examples below is Full HD (1920x1080).
Nvidia
If you are a Nvidia user, uncomment the following lines:
# Nvidia settings
Section "Screen"
    Identifier "Monitor"
    Option "UseEDID" "true"
    Option "CustomEDID" "DFP-0:/usr/share/edid/1920x1080.bin"
EndSection
Intel and AMD
If you are an AMD or an Intel user, specify the port the monitor is connected to:
==> /sys/class/drm/card0-DP-1/status <==
connected

==> /sys/class/drm/card0-DP-2/status <==
disconnected

==> /sys/class/drm/card0-HDMI-A-1/status <==
disconnected

==> /sys/class/drm/card0-HDMI-A-2/status <==
disconnected

==> /sys/class/drm/card0-HDMI-A-3/status <==
disconnected
Uncomment the following lines, replacing Monitor-DVI-I-0 with your value (Monitor-DP-1 in the example above):
# Intel, AMDGPU settings
Section "Monitor"
  Identifier "StandardMonitor"
  ModeLine "1920x1080"  173.00  1920 2048 2248 2576  1080 1083 1088 1120 -hsync +vsync
EndSection
Section "Device"
  Identifier "Video"
  Option "Monitor-DVI-I-0" "StandardMonitor"
EndSection
Xorg no-monitor configuration
If no monitor is connected, Steam will not detect the supported resolutions nor run games.
Nvidia
With Nvidia, you can solve this problem within the software: just specify the videocard output expressly, even if there is no monitor connected to it. To do this, uncomment the following lines:
# Nvidia displayless
Section "Device"
    Identifier "Video"
    Option "ConnectedMonitor" "DFP-0"
EndSection
Intel and AMD
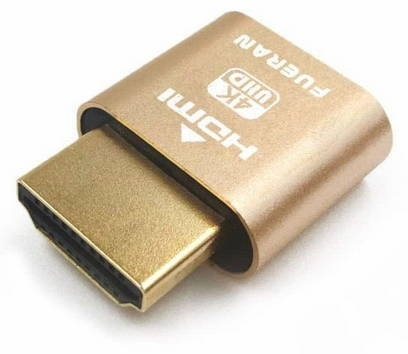
If you want to use Intel or AMD graphics without any loss of performance, the only possible solution is a hardware one. You can follow these instructions. Or use a HDMI emulator, as shown below:
Connecting to a graphical session in the container
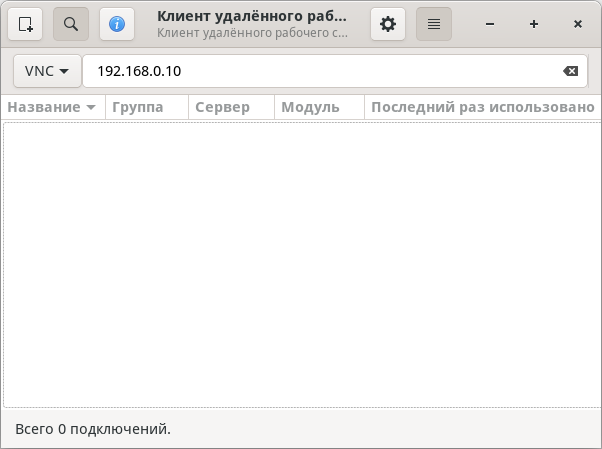
To access the container, you can use the monitor connected to the server, or connect remotely via VNC, for instance with Remmina. To connect, set VNC as the protocol and 192.168.0.10 as the container IP:
The first time you start the container with the configured user guest account, it will automatically install Steam over the network:

Once the installation process is completed, Steam will be launched in Big Picture mode:

Running games
To broadcast games from the server, the client and the server need to be in the same network. If they are not in the same network, they can be combined into one via [VPN] (wireguard).
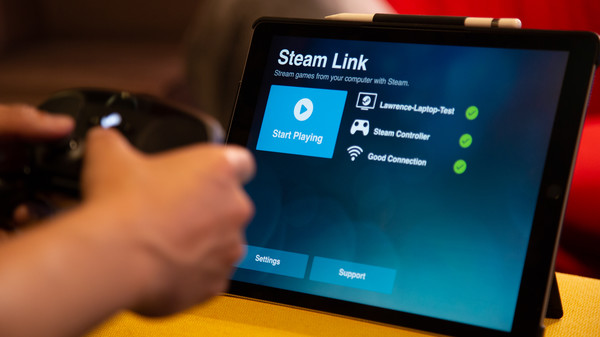
To connect Android OS to a running instance of Steam, use the [Steam Link] client (https://store.steampowered.com/steamlink/about/):

Unfortunately, Steam Link is not available for Linux. Instead, you can install Steam, log in with the same account, and connect to the server by selecting Transmission to use its processing power:
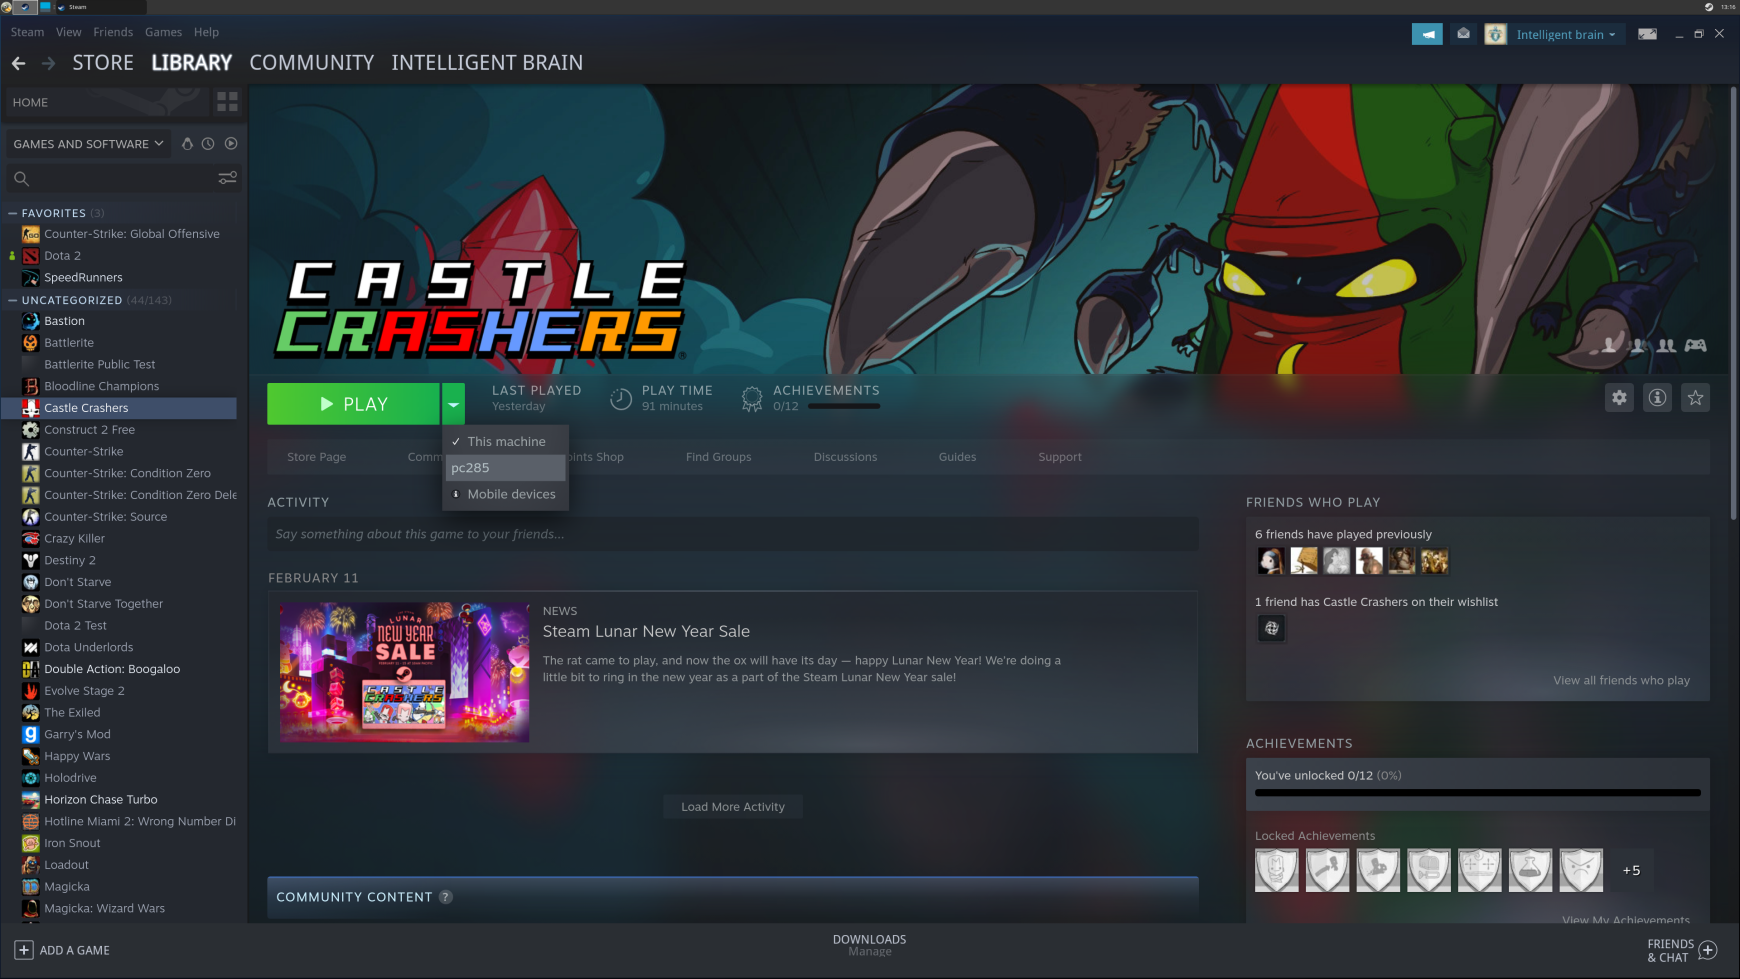
To install Steam on your Calculate Linux system, run the following command:
emerge -a games-util/steam-launcher
Troubleshooting
Screen blinking
Sometimes, the screen may be blinking on Steam Link if you use Nvidia graphics. To correct this, quit Steam and run NVIDIA X Server Settings. In OpenGL settings, turn off the Sync to VBlank and Allow Flipping options:
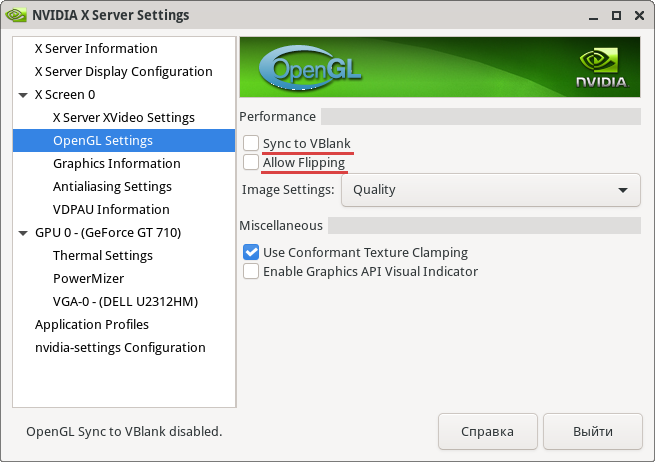
Now open Steam in the menu.
Low quality graphics
The quality of the image streamed over the network may be considerably affected. This may be due not only to network performance issues, but also to Steam autodetecting the network speed, which may cause it to drop the transfer to 3 Mbit/sec. To solve this, specify a fixed minimum required speed. For example, 10-15 Mbit/sec speed will be quite enough for Full HD broadcasts. You can set this up either in Steam Link or in Steam running on the server, by selecting Settings -> Remote Play -> Advanced Client Settings -> Bandwidth Limit -> 15Mbps:
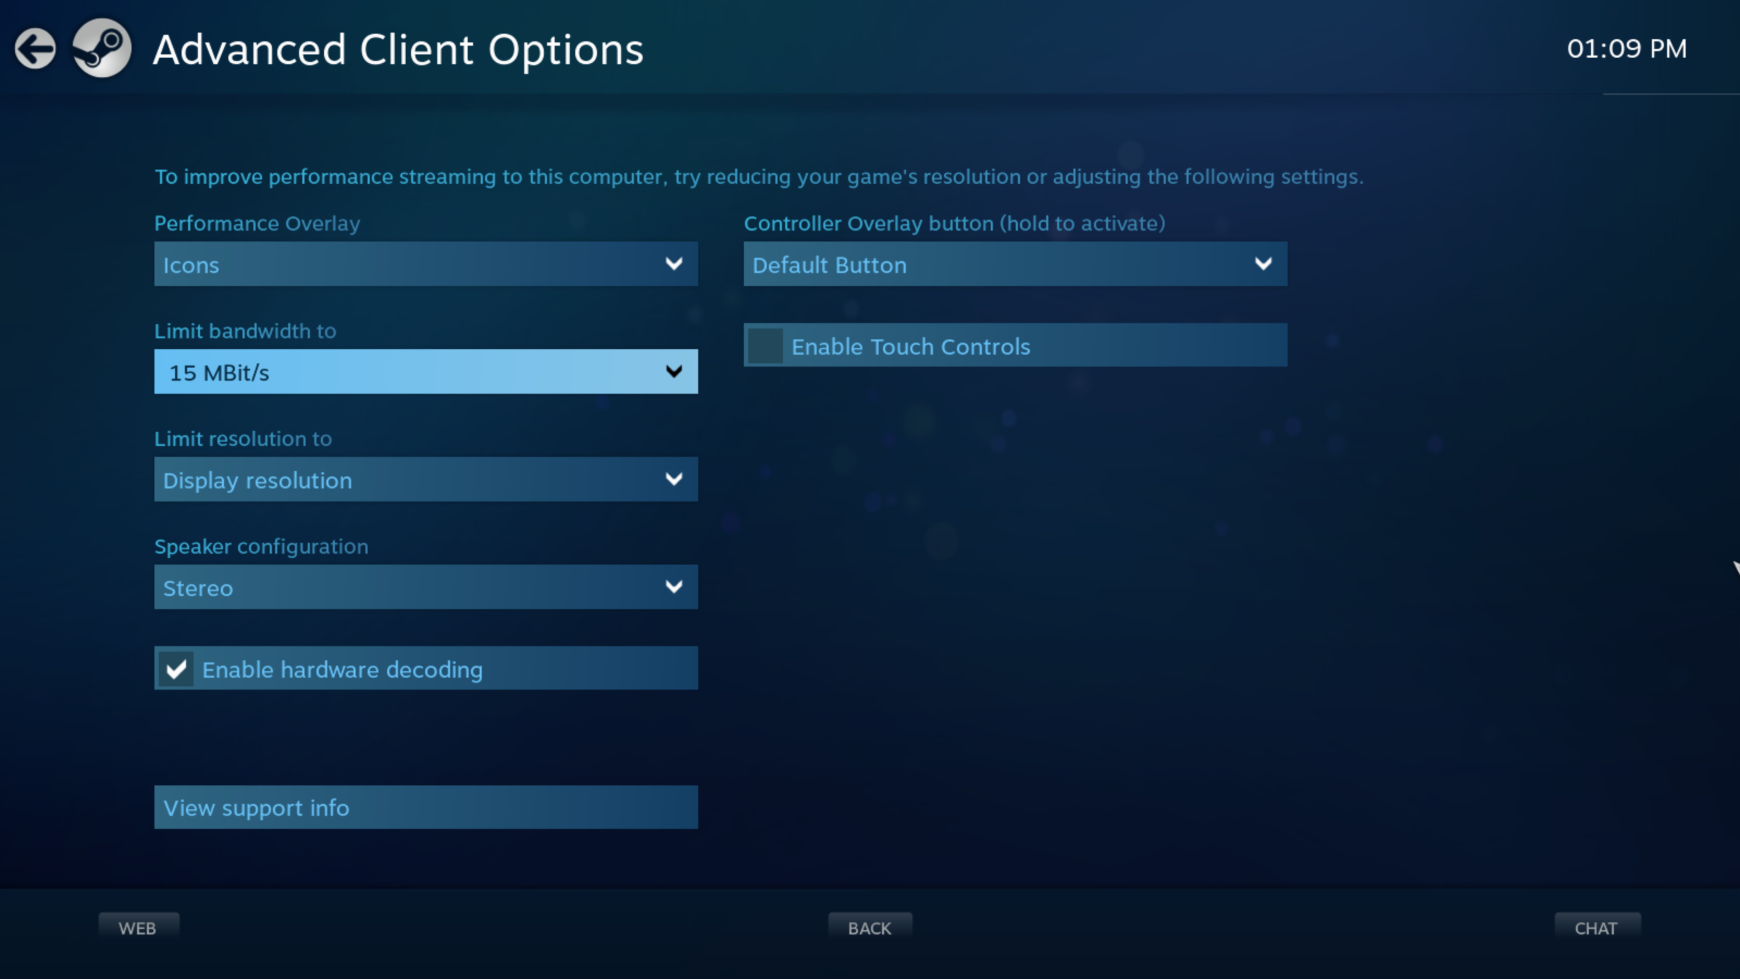
Configuring your Steam controller
You may experience trouble when trying to connect the Steam controller to an Android device with a USB adapter. If this is the case, use a Bluetooth connection. You might have to update the controller's firmware. Look here for more details.

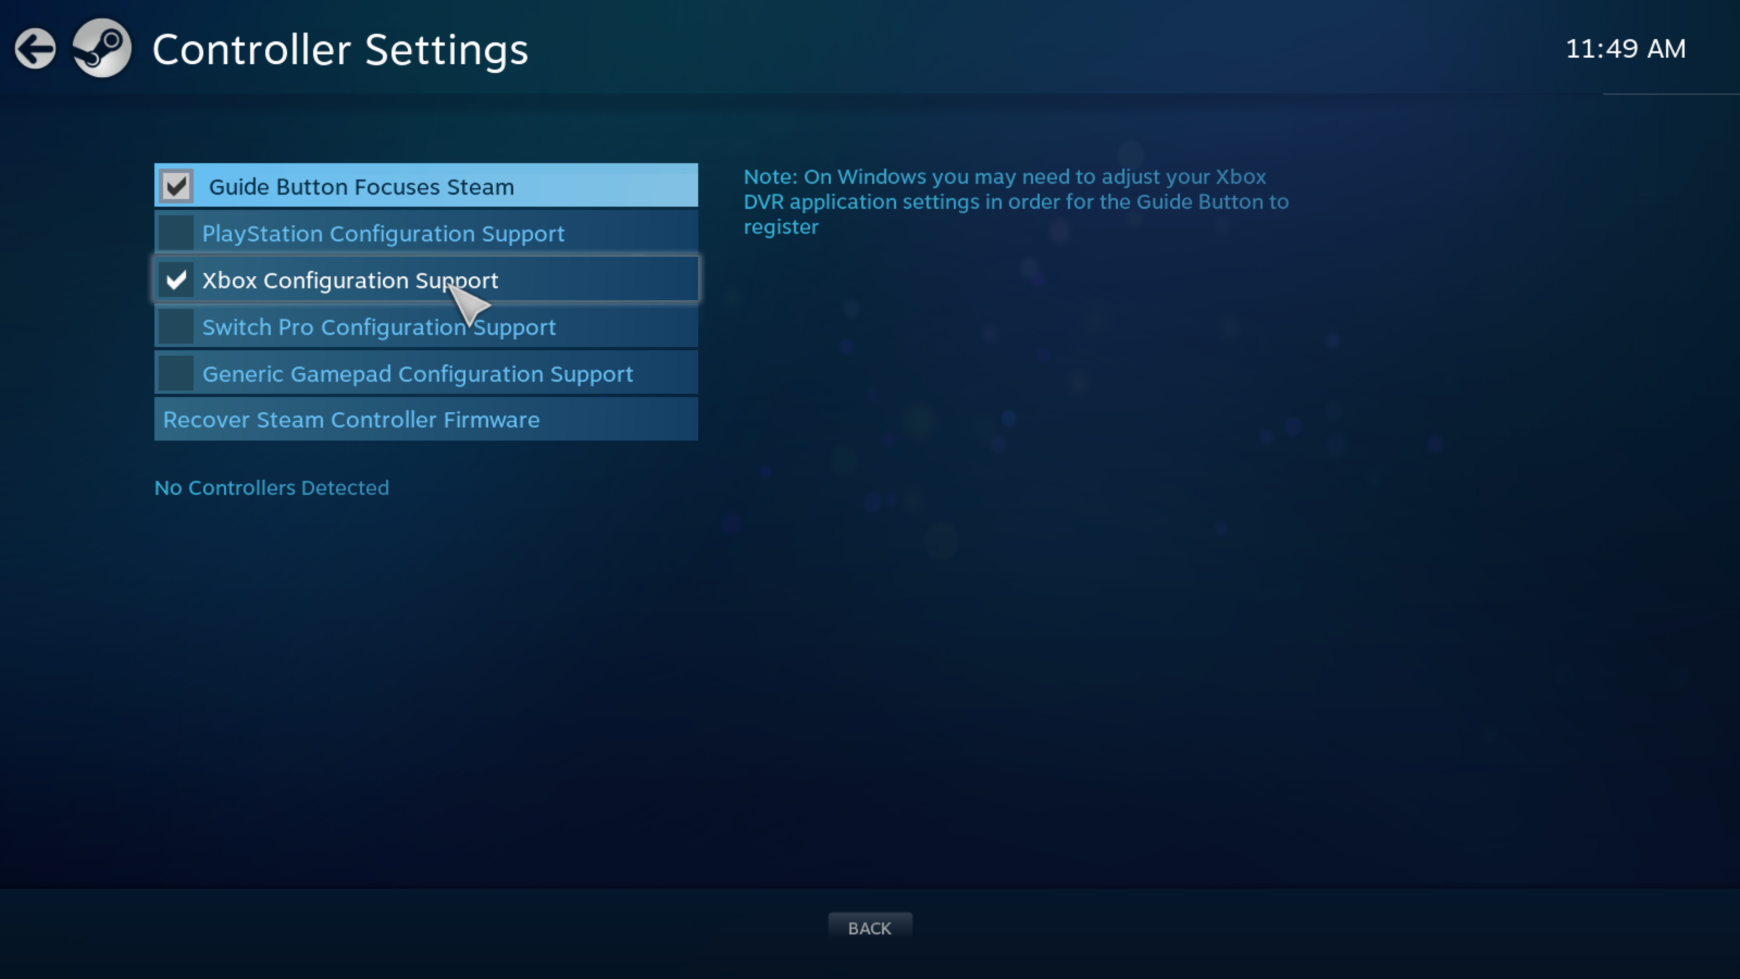
You will also need to enable Xbox in Steam. To do this, go to Settings in the menu, then to the controller settings and enable custom settings for xbox:
